
Home Grown Kids: No Dig Gardens
A no-dig garden is also known as sheet mulching or lasagne gardening. It is built by layering materials on top of the soil or in a large vessel, thereby creating a friable and nutrient-rich environment in which to grow plants, especially vegetables.
Why no dig?
No-dig gardens are quick to build and require little on-going maintenance. They mimic nature with their layers of organic matter decomposing and being added to in time. There is no tilling and a covering of mulch so weeds are less of a problem. Because digging isn’t required the method is suitable for all gardeners.

How?
You can begin on any fairly flat surface, including using an old bathtub or other recycled raised bed. Ideally, the garden will receive at least five hours of sunshine per day. If building on the ground you might like to edge with wood or rocks if you have them, but it isn’t vital to the project and is something you might do later. Creating a no-dig bed directly on the lawn is fine, too. The grass will rot and feed the plants.
If you are building onto clay soil, first apply a sprinkle of gypsum, lime or dolomite. Then begin with a layer of newspaper or paper and cardboard. I usually shred these a little by hand and combine with other organic matter to prevent them matting together and enable worms to move through this layer. Next I place vegetable scraps and other goodies to encourage the worms and micro-organisms to come along as soon as possible – they’re the workers in this system of gardening.
On top of this base continue layering organic material – with heavier twigs, bark etc underneath, and leaf litter, hay, manure, compost, soil, seaweed and other lightweight matter on top. Use as much as possible from around your house and garden, or nearby. Perhaps a neighbour has an excess of lawn clippings or fallen leaves, for example.
I always finish with some straw or other fine mulch, because it limits the amount of weeding required and allows water and nutrients through to the plants’ roots and other layers of the garden. During layering, water everything well after each addition. Once complete, allow a week or so for the materials to pack down if you have time. This isn’t necessary but be aware that the garden will sink.
Make small holes in the top mulch and fill with compost, potting mix – bought or homemade, local soil or a mixture of all three. In this small pocket you plant your seed or seedlings - the size of the hole and amount of planting medium will depend on the type of plant or seed. The young plants will get a good start this way and as they are maturing they’ll be reaching their roots into the other layers where everything is composting into food for your plants.
Water well during the first weeks so that the plants become established quickly. You might also feed them with a diluted seaweed solution or similar organic liquid fertiliser.

Long-term care
To maintain your no-dig beds, place on top more straw and other light organic matter between crops if needed. If you have planted perennial vegetables into your bed, simply place the new material around the plants and this will break down soon enough.
Rotating and mixing crops are good practice – intersperse different vegetables and flowers to confuse pests. Companion planting charts can be found in many gardening books or on the Internet if you wish to research which plants particularly benefit others.
To expand into more garden beds in time, create another border of timber for example, and simply throw your garden waste, paper, leaves, ash from the fireplace and lawn clippings etc into the new garden. When planting time comes, add some fresh straw and start planting into pockets as described above.
I have also used this method in pots, when transplanting any plants or cuttings. I put a layer of organic material on the bottom of the pot and layer a mixture of sand, soil and compost on top to plant into. These plants thrive compared to those planted directly into bought potting mix alone. On top, around the plant, I put some straw to hold moisture and deter weeds.
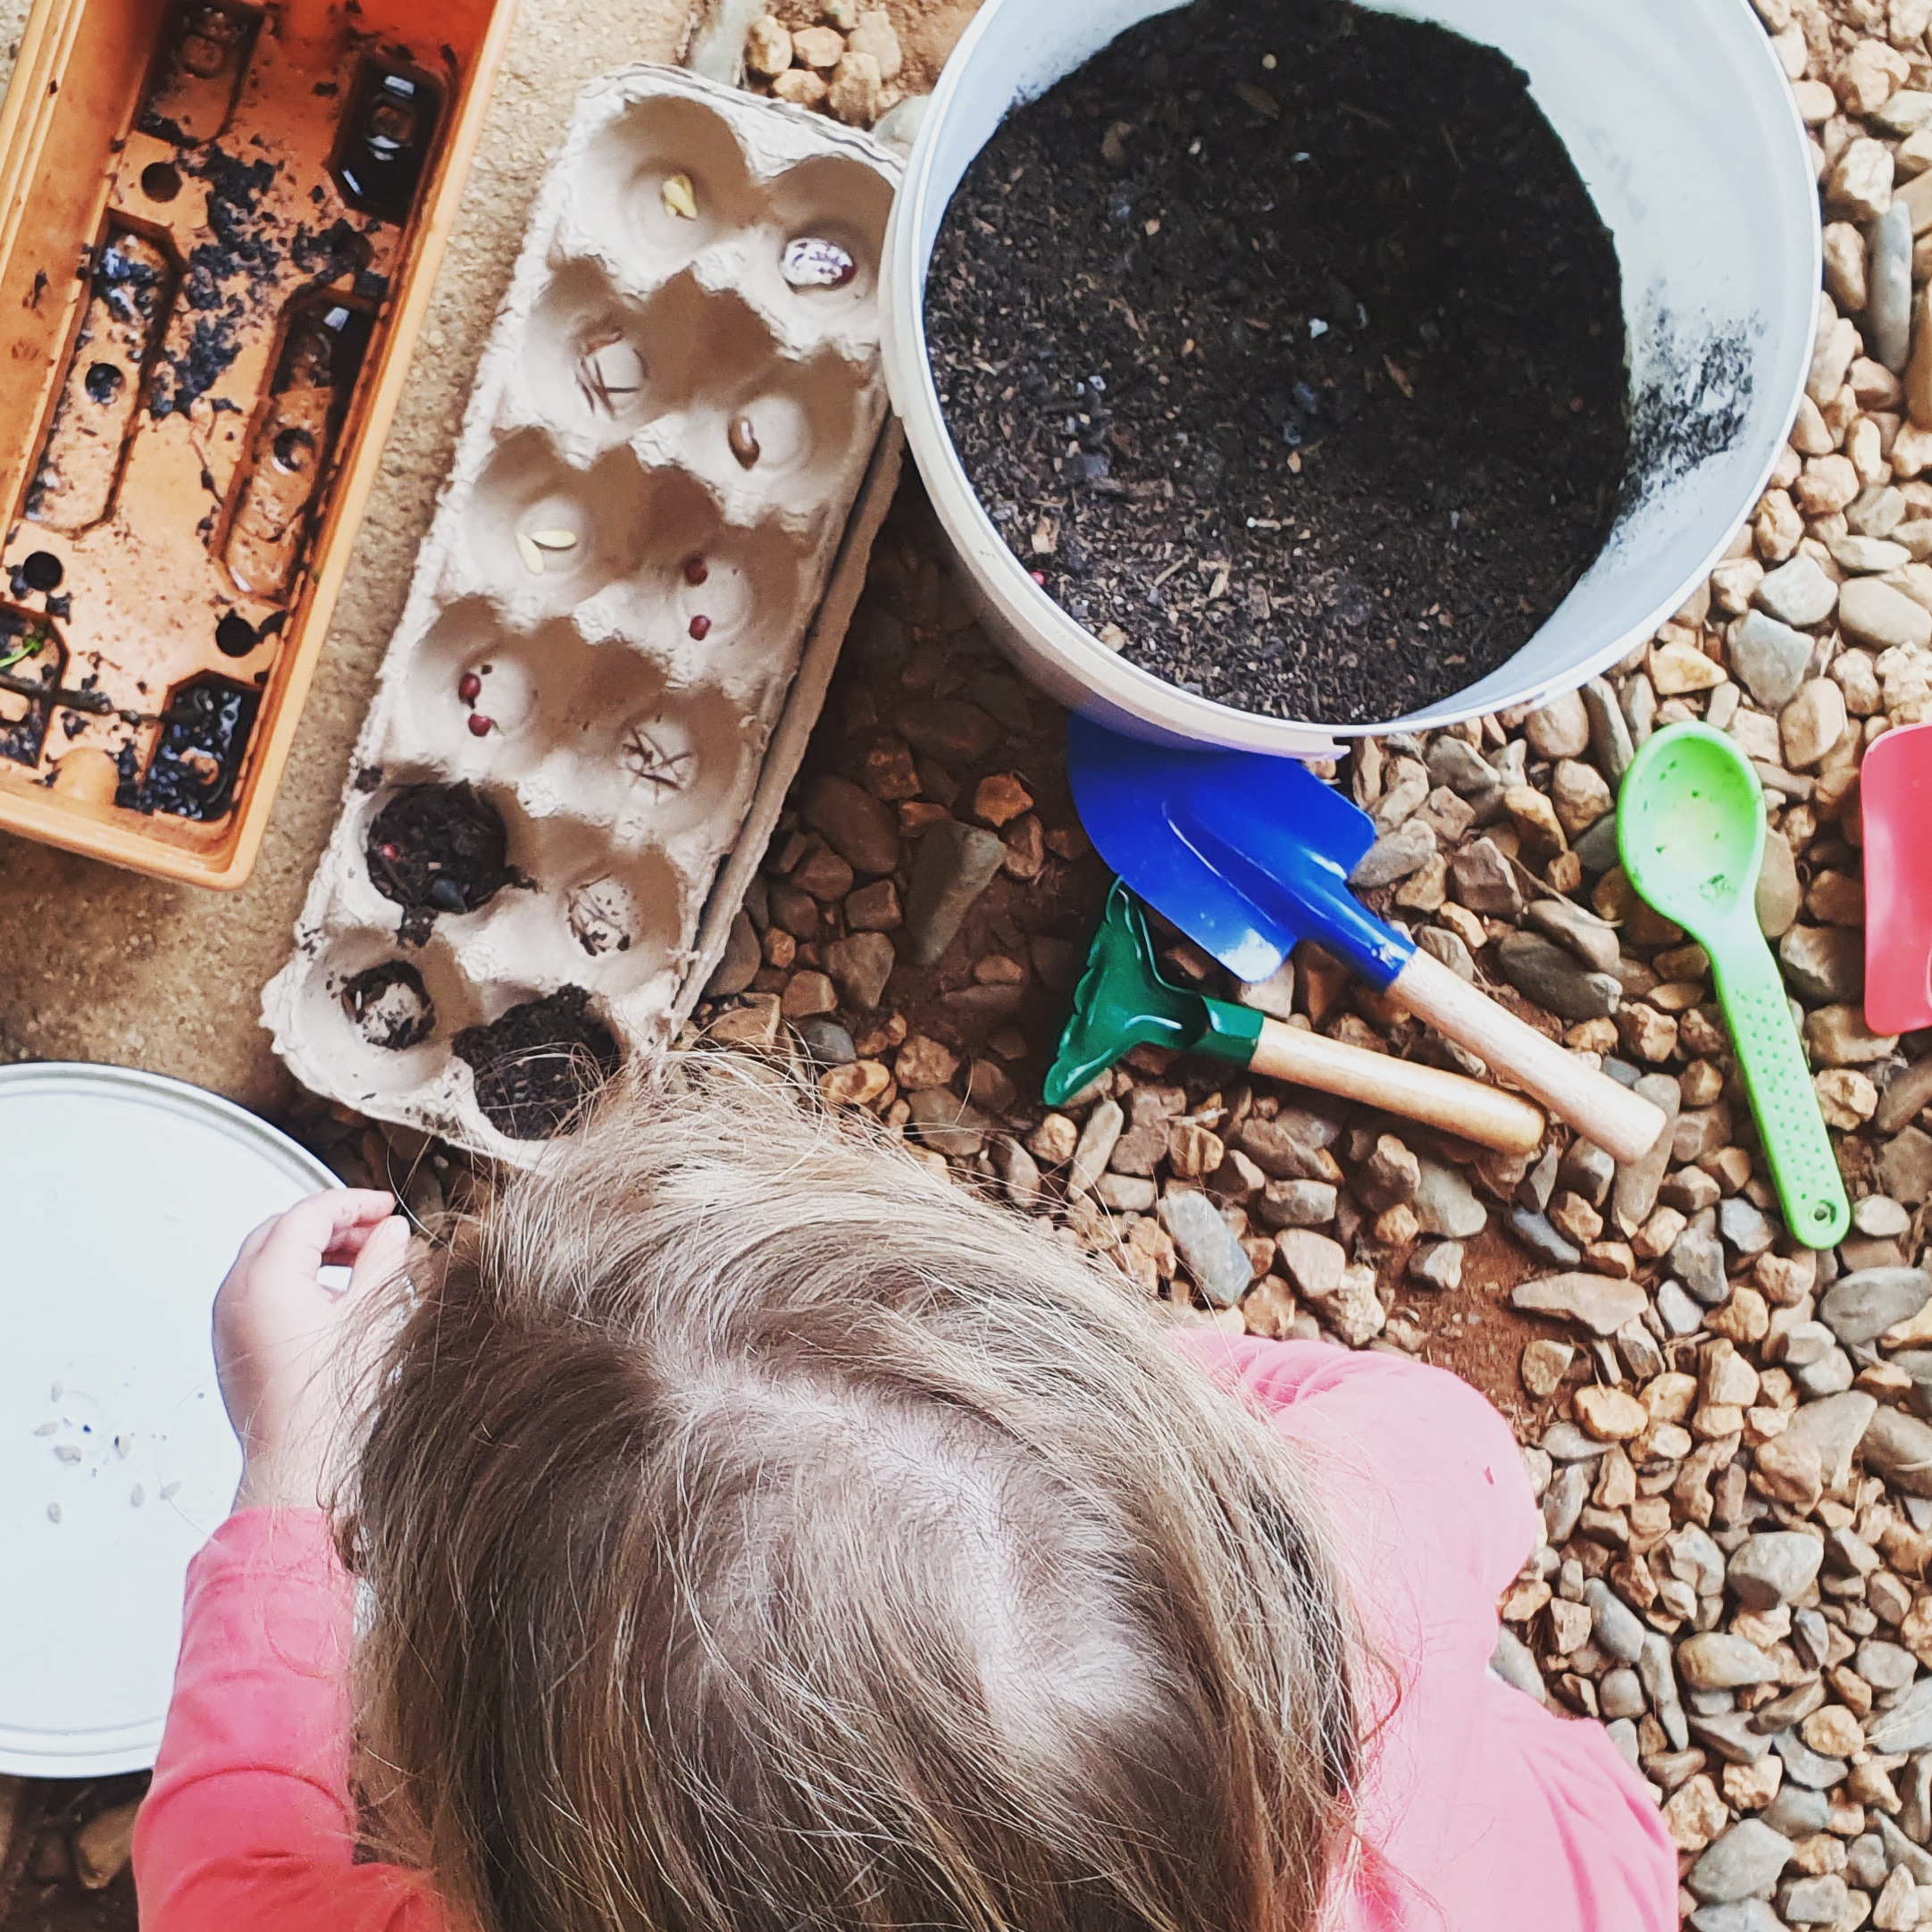
Great for kids
The best thing about this style of gardening is that it suits everyone, most especially children. They love to collect and spread layers of mess, and then carefully make little nests in the straw for the seeds and seedlings. Also, plants aren’t over-run by weeds, which can discourage new gardeners.
Our family have used this method for over twenty years now. If I had to dig and weed vegetable patches, I wouldn’t have time for the number of gardens we've had in the past - up to eight raised beds and several big no-dig plots built on the ground, as well as potted food plants. Even the youngest children are able to make new pockets and put their baby plants in place. I advise them on the spacing, or which bed to grow in, and they happily and effectively work alongside me. I hope that you, too, can use this easy method with your family.
Resources:
Morag Gamble's No Dig Garden Method (video)
No-Dig Gardening and Leaves of Life by Esther Deans, 2001 ISBN 9780732270995
Never miss
any of
Mama's
Musings
Introducing...

Bel Moore
Mama
Mother of seven and homeschooling for over 25 years. Join me on this journey...
Book a 1:1 support session via phone, zoom, video chat or face to face if you're local to me.
Read More About
All Categories
A Short Course For You
Start Now
Homeschool Confidently Facebook page - for more support and ideas.